Van security - Fitting Proplates
There are lots of ways to protect your motorhome from thieves and here I'm just explaining the process of fitting additional security to prevent them getting access via the doors.
We all know that with plastic windows no motorhome will be totally secure but with the following mods breaking in becomes harder so hopefully the thieves will look for an easier target.
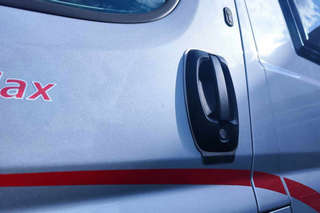
Although this article is about a Fiat Ducato similar vulnerabilities exist on most makes of van and unless you have an A-Class your motorhome will have a production van cab at the front of it.
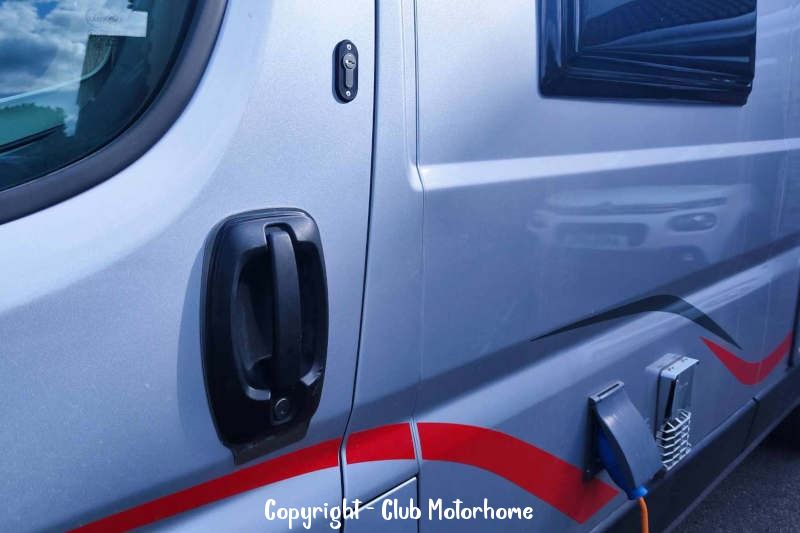
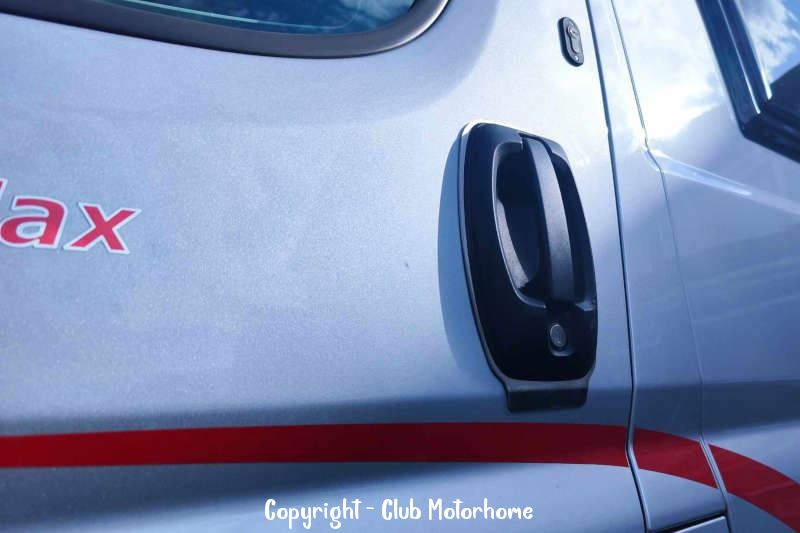
The vulnerability is simply that the area immediately around, and particularly below, a door handle is a weak point and a sharp object can be forced past the door skin allowing that object to find the locking mechanism inside. It's then simple to flip the lever and open the door.
Crazy isn't it? Fortunately it's not that difficult to secure your van against this problem.
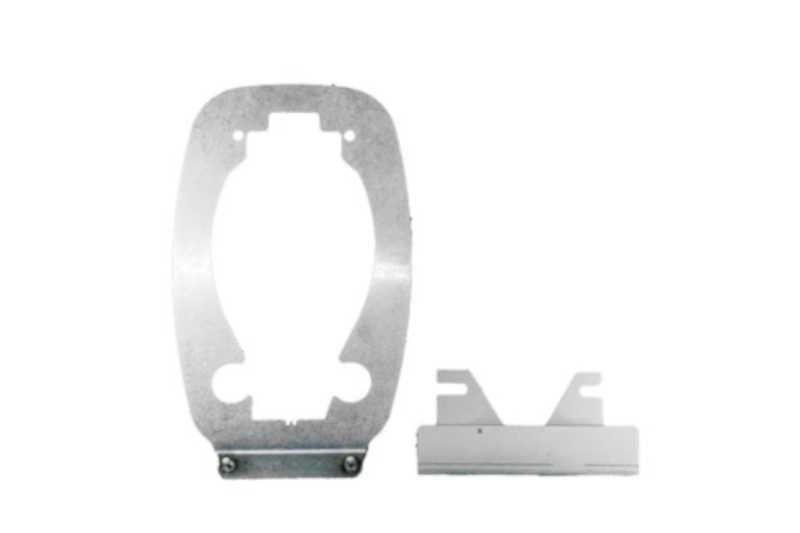
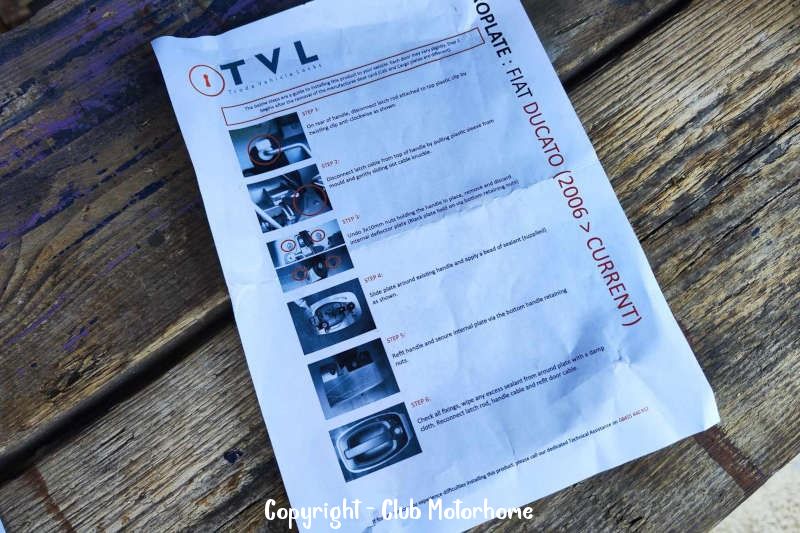
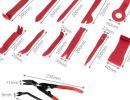
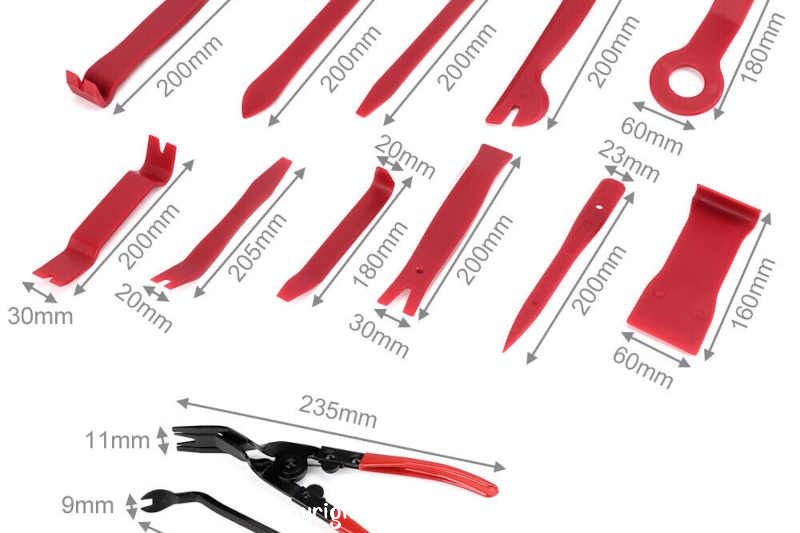
Parts needed - Proplates - I bought them on eBay at around £40 a pair, seller Protectavan). Sealant - which came with the plates. Trim removal tool - less than a tenner from eBay, seller fashionuniononline.
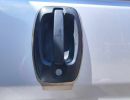
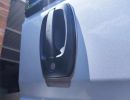
These Proplates should be fitted to the doors that have keylocks as a minimum. They work by blocking the path of a screwdriver/spike which, without them, would allow the latch to be clicked open from outside.
Obviously to fit these particular plates the handles need to be released from the bodywork and the driver's door and rear door are similar but the trim is different as regards getting to the handle fixings. Thinking the back door would be the easiest I started with that.
Rear door
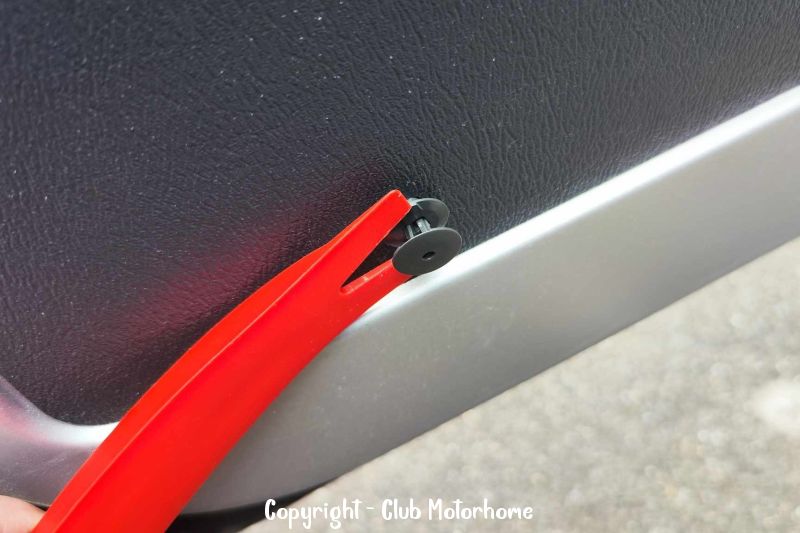
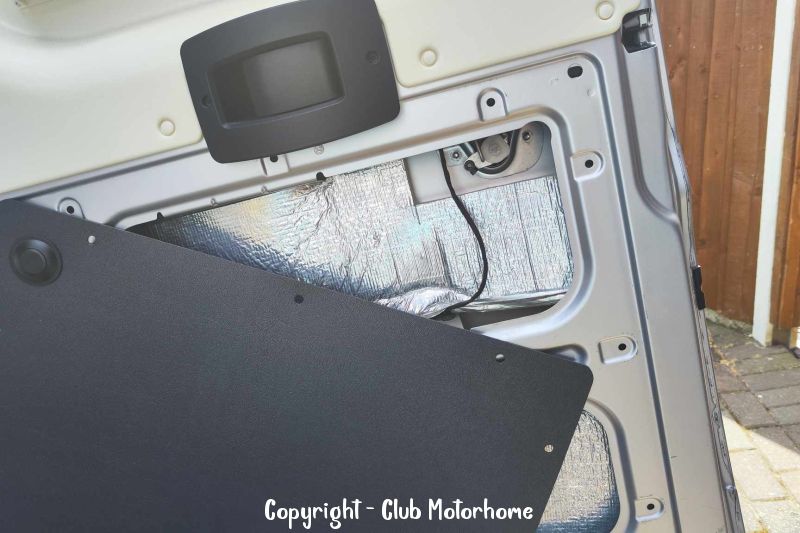
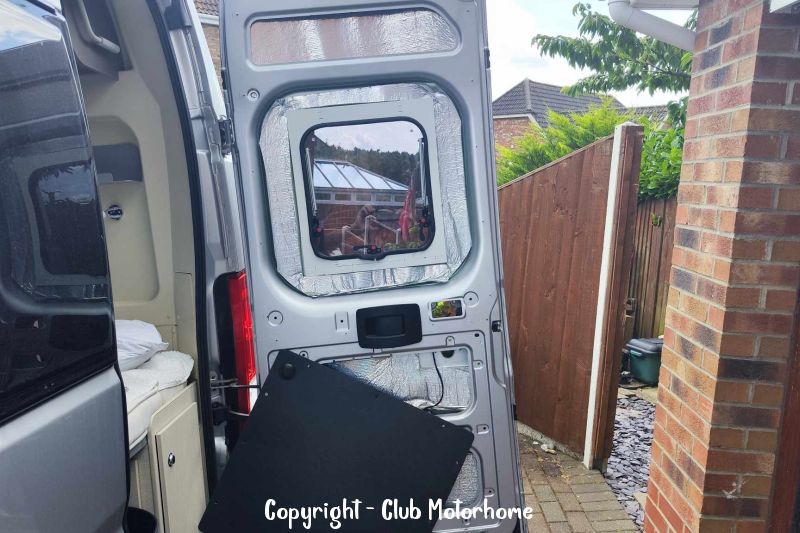
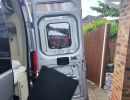
Most of the handle area is covered by the lower trim panel and that is quite easily removed using the most suitable trim stud remover from the pre-purchased trim removal kit. I left the internal door push lock in place and just swung the trim panel to one side.
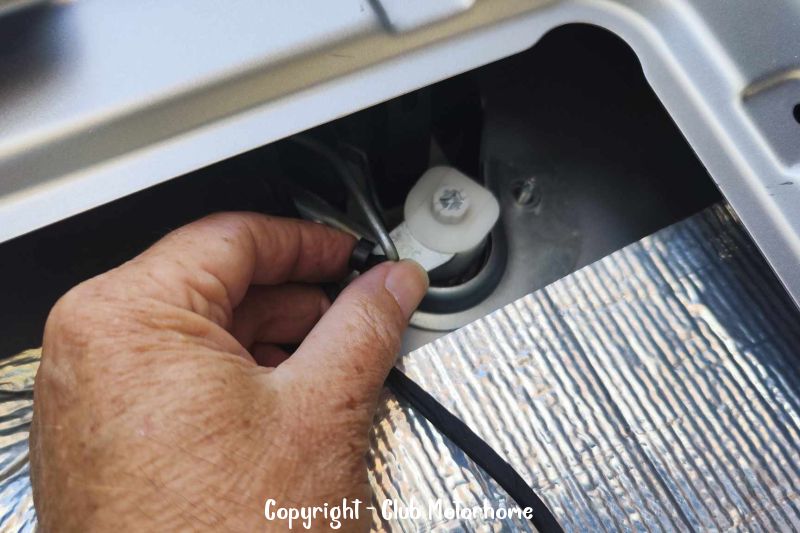
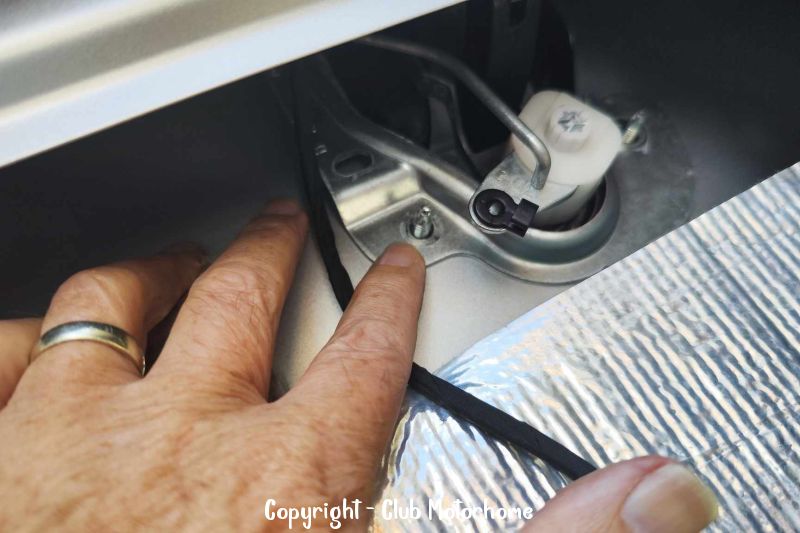
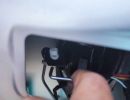
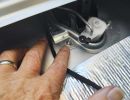
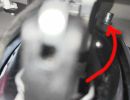
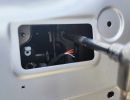
At a quick glance the handle is held on place by 4x10mm nuts and there are a couple of actuating rods that need to be uncoupled after releasing their little clips.
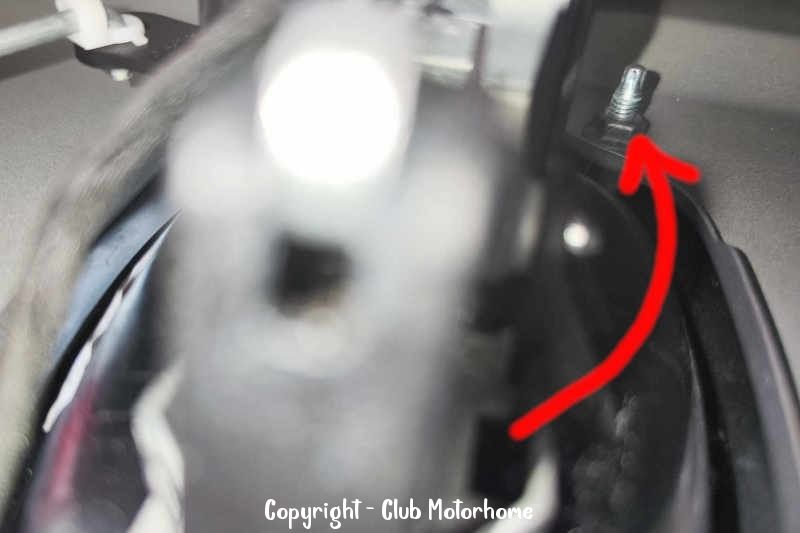
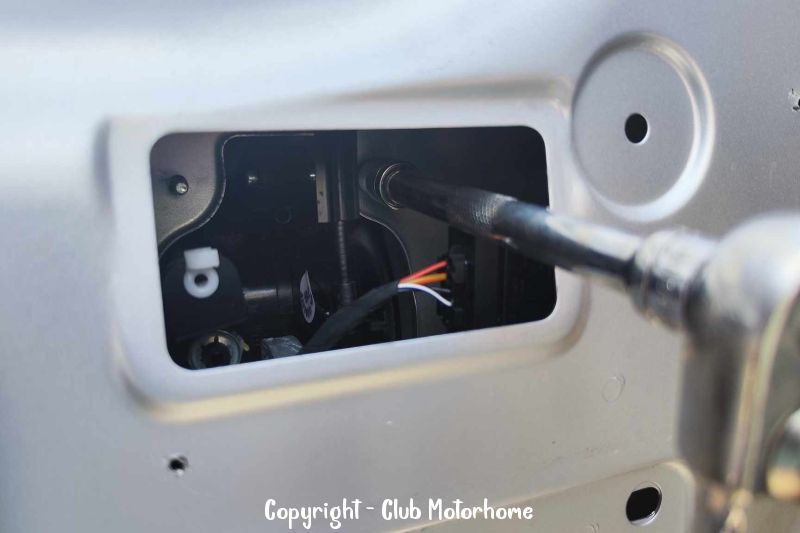
Of course there is one handle fixing nut that is almost impossible to reach without removing lots of skin on sharp edges! It was a lot less painful and not too difficult to remove the upper trim panel which is held in place by plastic screwcaps over small torx headed screws, after removing the window blind assembly. With the blind cassette removed the rubber window trim has to be eased away from the trim panel to release it. With the panel out of the way there is then a rectangular grommet that allows access to the last nut so well worth the extra effort.
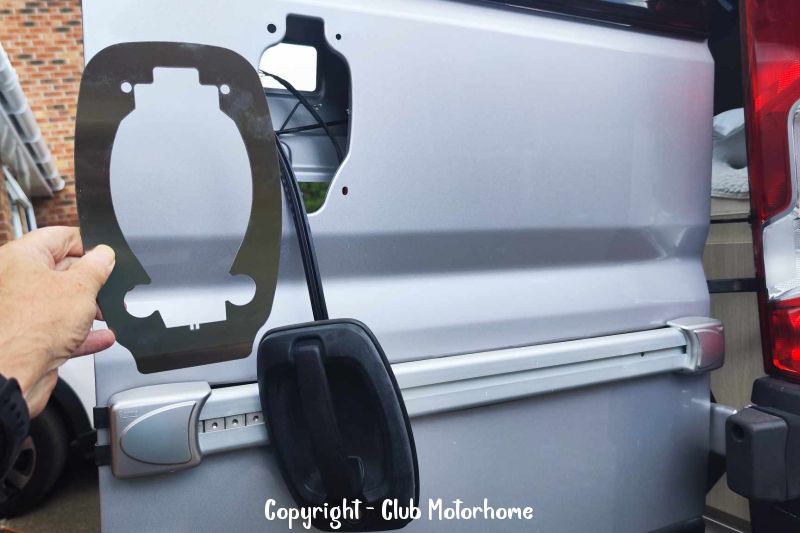
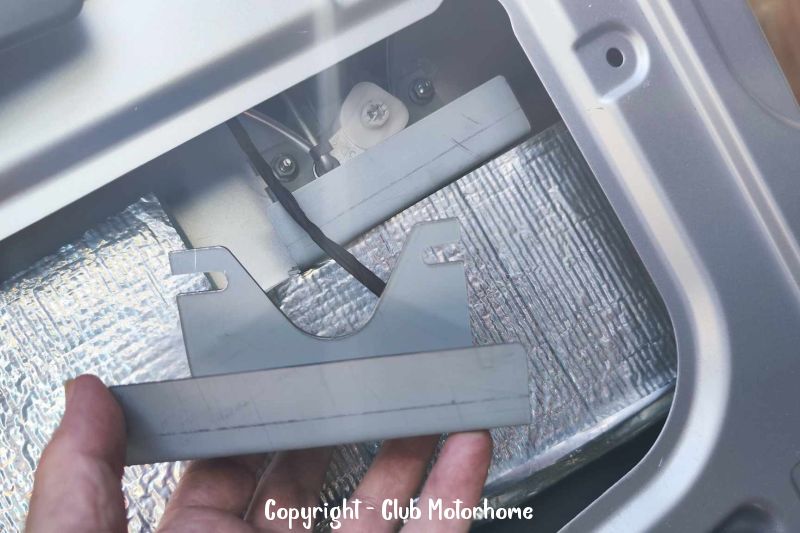
With the 4 retaining nuts undone (being very careful not to drop them into the door!) and the actuating rods released the handle can be wiggled away from the door. There's no need to disconnect the wiring harness as the Proplate can be manoeuvred over the whole handle assembly to get it into place.
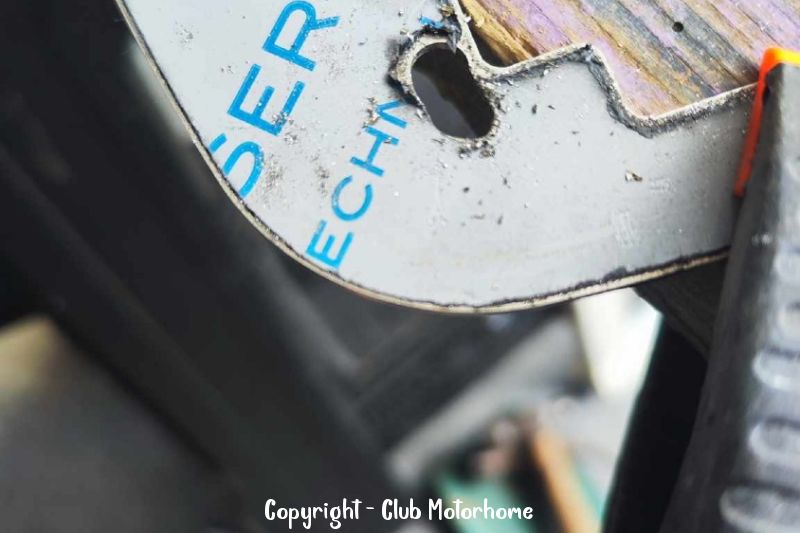
Ideally there should be no metalwork involved but I found the Proplate didn't quite fit the contour of the door below the handle. This just meant I had to elongate the top fixing holes in the plate to move it down slightly - it took ages having to file the stainless steel plate!
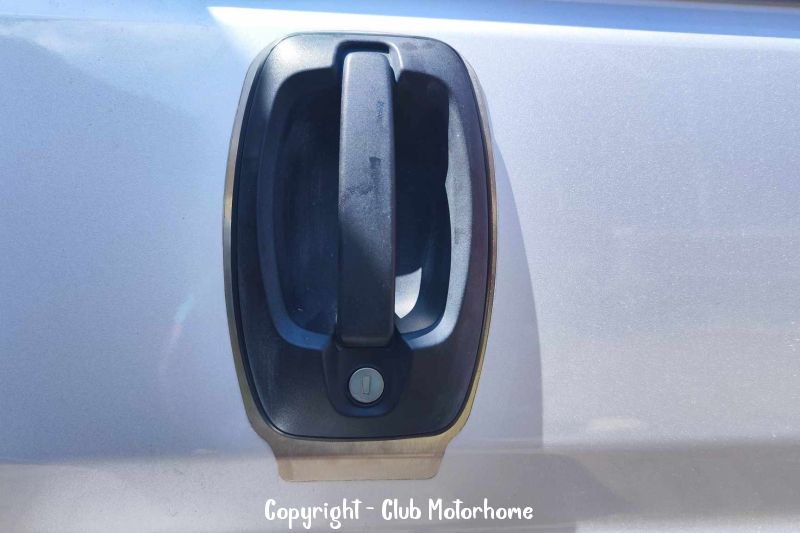
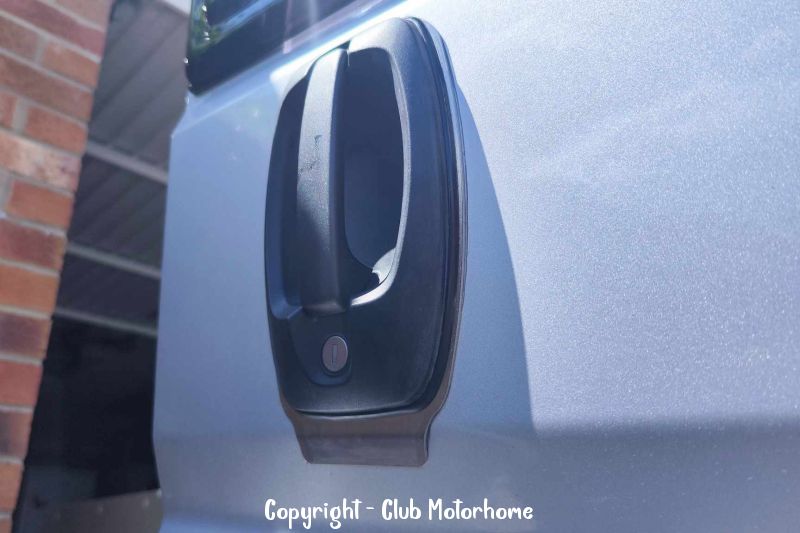
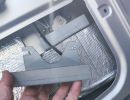
When everything fits nicely you can remove the protective covering on the stainless steel and apply the clear sealant/adhesive to the back surface of the Proplate, then carefully set it in place using the handle to get the position exact. Remembering to fit the Proplate internal deflector plate which is held in place by the 2 lower door handle retaining nuts. Once the handle is bolted back in place any excess sealant squeezed out can be cleaned up before it sets.
The rest of the job is just a reversal of the dismantling procedure remembering to connect and reclip the actuating rods and put the rectangular gromment back before the trim panels go back on - easy to forget, don't ask how I know....
That's it. Start to finish, a couple of hours. If I had to do it again probably less than an hour.
Driver's Door
I'd been dreading this part of the job as it seemed to be a much more involved dismantling job but with my new found experience of the rear door Proplate I set about the task...
The Remis blind can be removed by just pushing out the small logo panel in the corner from behind and undoing the single screw that it hides. I found that was sufficient to be able to jiggle the blind assembly enough to allow the armrest to be lifted away from its brackets.
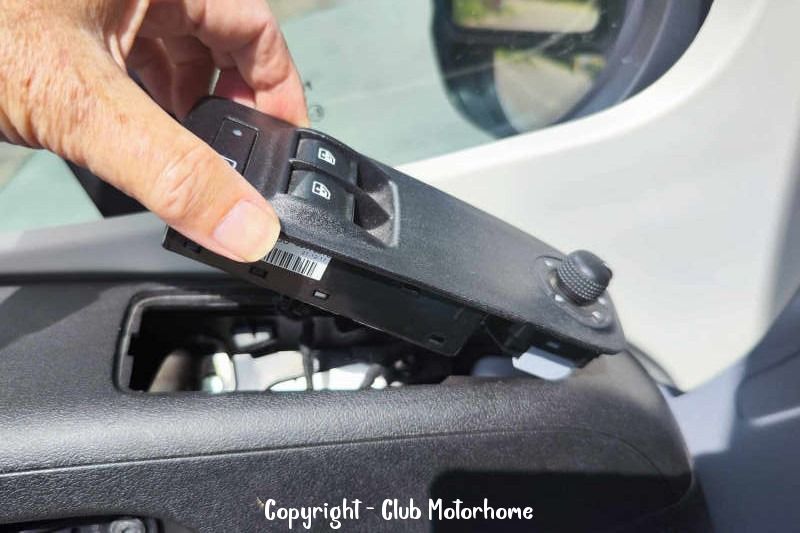
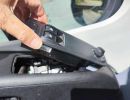
There's a fair bit of work to remove the armrest. First I levered out the window and mirror controls, this is a bit daunting as none of the trim removal tools were right for it so I settled on a slim screwdriver carefully entered into the top rear join and levered up. It came away cleanly and left no marks. The two connectors can be unplugged and the switch panel put to one side. There are little locking levers on the connectors which need to be understood before you use any force to release them.
Next, the speaker has to be removed after levering off its cover (with the same slim screwdriver). Its held in place with screws and a wiring connector. Once released it was put to one side.
To uncover all the armrest torx bolts there is the rear corner trim to prise off (screwdriver again), it comes off best upwards with the Remis frame held as far out of the way as possible. There's also a little cover plate where the inside door handle is, this again prises off and you can then get to all the armrest torx bolts.
The armrest pulls away quite easily in a slightly upwards direction. It will still be attached by wiring but this can be left in place, just hook the whole armrest safely as far out of the way as possible.
The lower door pocket is straightforward to remove.
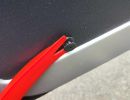
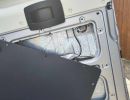
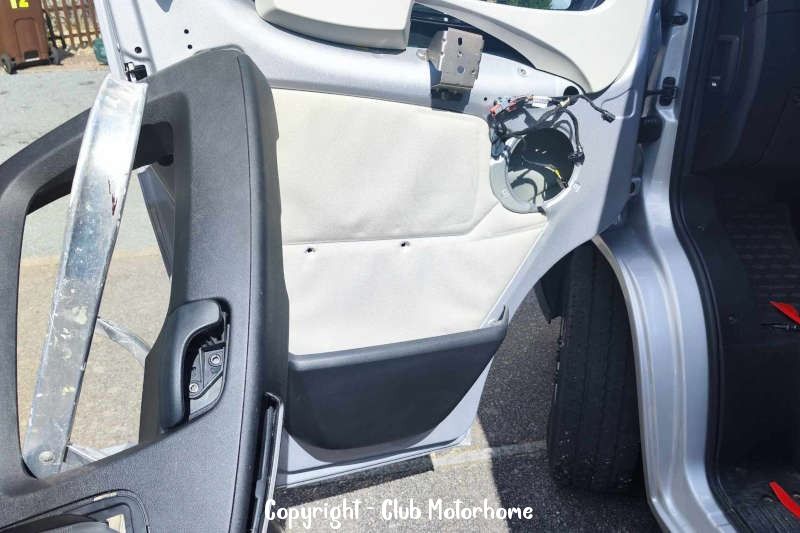
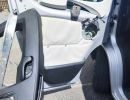
The door trim was tricky. I couldn't find a tool that did the job exactly so it was a mixture of inserting a wedge at each stud location by feel and using (gentle) force to ping it. The panel came of all the locating pins leaving them firmly fixed in the door. With that out of the way I was faced with a foam membrane which is firmly stuck at its edges to the door. I didn't want to cut a hole in this so I released the top corner by the outside handle using a modelling knife carefully to cut through the silicone type adhesive and gently peeling it back to allow enough room to get a hand into the door.
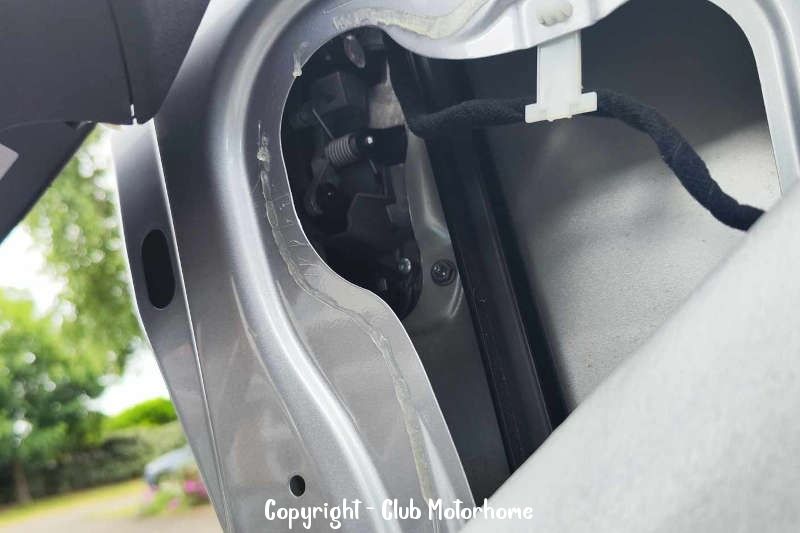
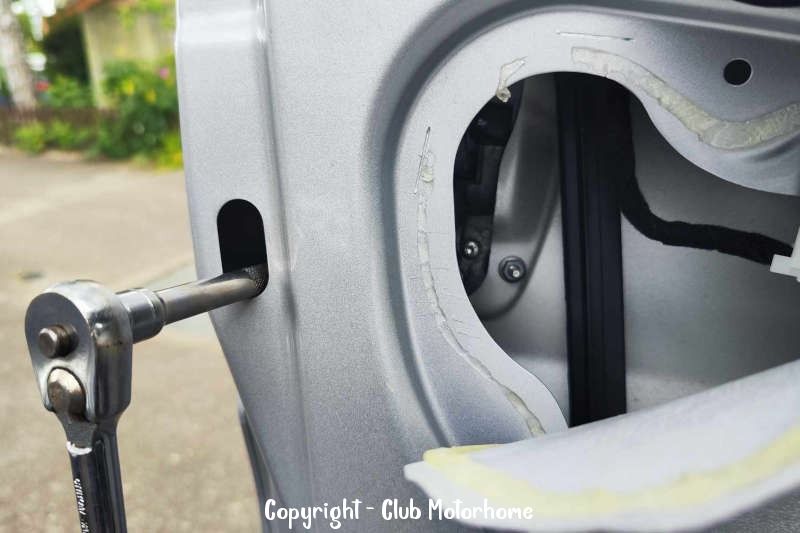
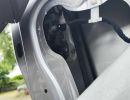
So to work... The handle is held by 3x10mm nuts this time and you guessed it, one is impossible to reach. However there is an oblong grommet that can be removed to get a long socket through. There's also an actuating rod to release.
With the handle free and dangling outside the door its the same job as before. Offer up the Proplate to check its fit, this one fitted the door perfectly. Apply the sealant/adhesive and put it back together. The internal deflector plate needed a little bending to get it to fit nicely inside. It does need to be a good fit otherwise the nuts won't go back on as the bolts are not very long. Wipe off any excess sealant that may have been squeezed out onto your paintwork.
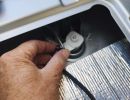
A little tip to save dropping any nuts into the door cavity is to cover each with a small piece of masking or insulation tape before jamming a socket onto it. It will stay in the socket until you are ready to pull it off.
Remember to put the grommet back and the actuating rod (again don't ask!)
The rest of the job is a reverse of the dismantling procedure.
Time taken on this door about 3 hours but would be much less if I had to do it again.
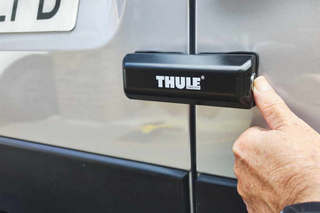
So there we have it, a good job done. For more security see our article on Thule External Locks


















 (share) button at the bottom of your screen,
 ( Add to Home screen ).